
Summer is here! The best time for iced tea and books in a comfy chair. I went on the look for a set of plans to build these Adirondack chairs. I am thrilled with how these turned out. I like the modern yet classic look and they are actually comfortable to sit in. I liked these Rockler plans, however there were a few important details missing (almost like nobody ever used the plans before they started selling them). I will address these issues here in the blog in case you want to build them yourself. For a better step-by-step please watch my video I made on the process.
Materials I used:

These plans come with cardboard cutouts that you can trace right onto your boards. Then you want to cut out the pieces. You can complete this whole project with a jig saw. Since I have a miter saw and a bandsaw I used these.
Some important things that the plan doesn’t cover well.
- The instructions talk about leaving extra space when you cut your boards. NOTE that this is only if you want to use the router and have made templates. If you are just going to cut your boards with a saw you will want to cut them to size.
- Somehow they forgot to put in the angle to cut the front legs. I found that a 10 degree angle on both ends worked for me
- The instructions call for a 30 degree cut on the back support. Although this seemed confusing I don’t think you can mess it up. Just set your saw at a 30 degree angle and you’re set.

Next you can start assembling it per the instructions. Although the instructions did not call for it I used waterproof wood glue on the joints of the frame. I just wanted to give it a stronger hold. I also pre drilled all of my holes to keep the wood from splitting.

For the lower back support I had some issues getting the angle right. It still turned out fine, but there is not anything in the directions on this and nothing to really line it up with.
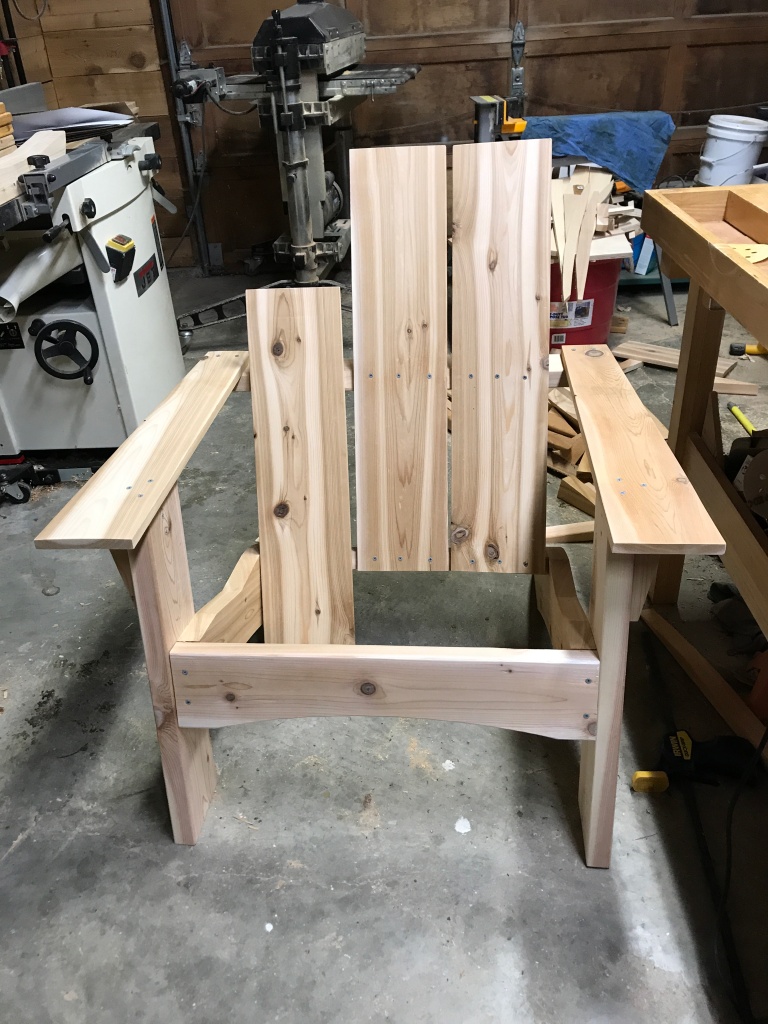
One thing I did different than the instructions is to attach the arm rests to the back support first. Then I clamped the back slats in place to make sure the spacing was correct before screwing the arm rests in place.
I also should have used a level to make sure the arm rests were level with the ground before screwing the slats onto the back support.

With the chairs fully assembled I used sandpaper on any of the rough edges and then applied 2 coats of stain to protect them.


